Letter to Evelyn: Two Years
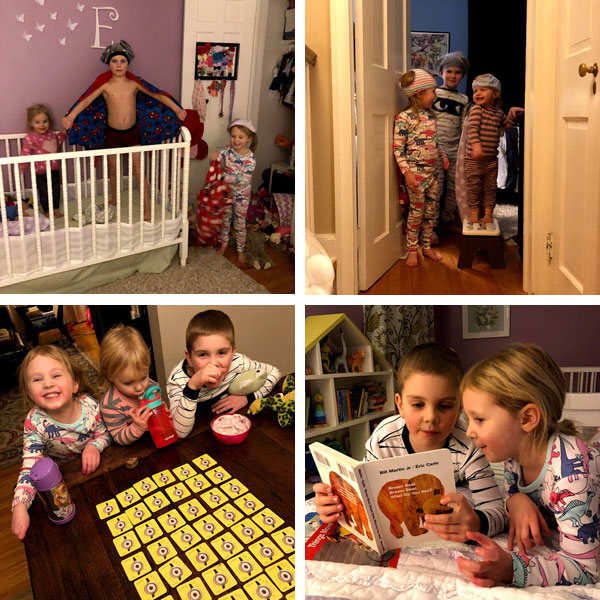
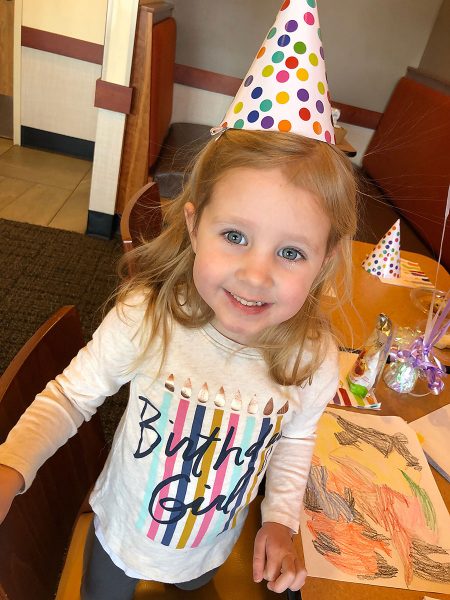
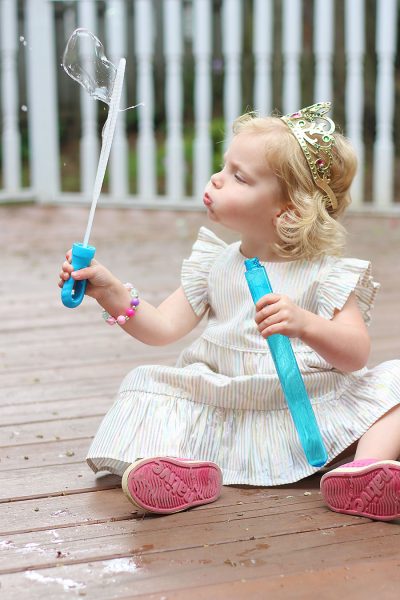
Dear Evelyn, You are TWO! Though you like to say “three” when we ask you. You have grown tremendously this past year. From crawling to walking to running and jumping and somersaulting. From first words to full sentences. I had almost forgotten how much fun it is to be two! Wild and free and so eager to explore the world.... Read more